Meringue Kisses
March 3, 2020
Delicious Meringue Kisses
The thought of making meringues can sometimes be scary. You don't want your mixture to be gritty, you want to ensure your mixture whips up to a certain consistency, and you don't want your meringues to crack at the end after all your hard work.
Lets get realistic here, yes you may mess up a couple times in trying to perfect the meringue, but when you finally hit that "ah ha" moment the whole journey is well worth it! I am no meringue master by any means but I have found that "ah ha" moment myself and I would love to share with you how I got there and some important steps in order to achieve meringue bliss.
The first time I ever made meringues was a stressful time indeed. I wanted to make something pretty to top one of my cakes for Valentines Day but I wasn't sure what to make that would serve a dual purpose (tasty and beautiful). I also had my sassy niece who was having a very clingy day with auntie. So I grabbed her walker, set up her gate, and we had a party together in the kitchen. I researched so much information about meringues that I sort of psyched myself out with all the information.
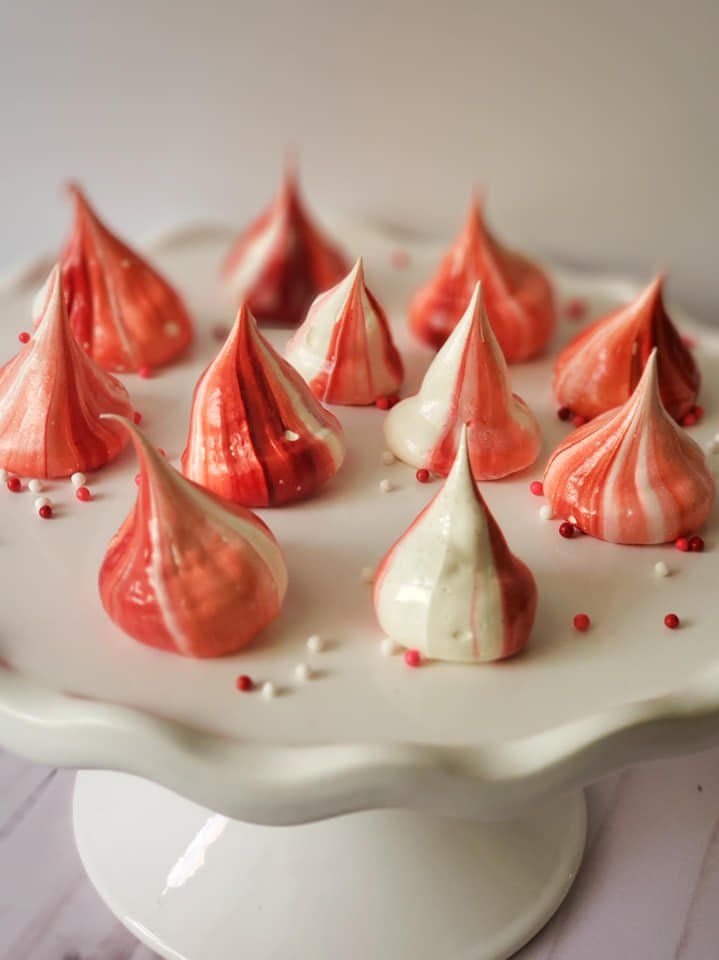
When all was said and done I took a little information from each source I used and combined them all together. I started by washing and drying every item I was going to use. Everything was previously cleaned, but I wanted to ensure there was no leftover fat from all the buttercream I tend to make. I dried them all off then wiped them down with a paper towel just to be safe (I really wanted to make sure this would go well! I'm not neurotic I promise). I then grabbed all my ingredients and went to work. I stirred and stirred then I stirred some more until there was not even a thought of grit in this mixture. Let me tell you though, I now have the strongest arm in the south due to all this mixing! Next step, give this sweet baby some kisses because she sure needed them today. After baby kisses, I took my mixture and let my KitchenAid do some work. When the mixture appeared to look correct I stopped my mixer and took off the whisk attachment. I looked at my whisk way too long questioning if I got that stiff peak that a meringue mixture needs. I even looked up reference pictures and videos to ensure I had it just right. I decided this was correct and grabbed my piping bag. I used red food coloring and painted stripes on the inside of my piping bag (a tip from many Instagram bakers) then filled it with the meringue.
As you can see from the pictures my meringue piping needs a little work but that's what makes them fun. The great thing about meringues is that you can pipe them into ANY shape you want! I chose a simple tear drop style since I thought this would look best on my cake. I popped these tiny kisses in the oven and watched as they cooked. When the time was up I made sure my meringues came off the parchment, then turned the oven off and propped it open for the rest of the cooling time. When they were all cooled I tried one, and I am happy to say they were incredibly perfect! I picked up Lily and we danced around the kitchen because we were so happy about the beautiful meringues.
Tips:
For starters you need to make sure you have a clean bowl and whisk. If there is any grease or fat remnants still left over from the last time you used these items this will effect how your meringue will puff up.
Make sure there are no sugar crystals left in your mixture before you start with the whipping process. When you are using the double boiler method you will constantly whisk the mixture until any sign of grit from your sugar is gone. If you skip this step you will have meringues that taste fine but their texture will be quite gritty. That is the exact opposite texture you want in a fluffy meringue.
After your meringues are done baking and they no longer stick to the sheet, crack the oven door open a tad and leave them in there until the oven is completely cool. This will help to ensure that your meringues do not crack and keep their beautiful shape.
And that's it! Remember to have fun with it and try to experiment with shapes and sizes to see what you like best. When you get confident you can even make meringue pops!
New Paragraph


